点击查看 [Linux 源码安装 PHP ] [Linux 快速搭建 Apache + PHP 环境 ]
所有操作在默认的 /root 目录进行,且当前环境已经安装gcc/gcc-c++,没有安装gcc的请执行yum安装yum install -y gcc-c++
1、下载Apache源码,我这里用的是官网当前最新版本2.4.29,选择的是tar.gz包wget http://mirrors.hust.edu.cn/apache/httpd/httpd-2.4.29.tar.gz
httpd-2.4.29.tar.gz (8.24 MB, 下载次数: 6)
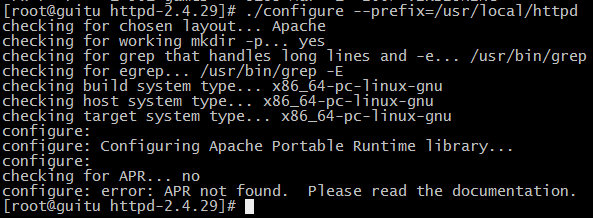
2、解压并配置Apachetar -zxvf httpd-2.4.29.tar.gz cd httpd-2.4.29
# 后面的参数是配置Apache安装目录 –prefix=/usr/local/httpd./configure –prefix=/usr/local/httpd
# 到这里会报错,提示 configure: error: APR not found. 需要 先安装APR依赖包
3、下载APR源码编译安装
# 在这提一下,APR我没有用官网最新的1.6.3版本,会出现一个错误,可能因本人技术有限,暂未解决,所以退回到1.5版本
# 这里提供的是1.5.2版本下载
apr-1.5.2.tar.gz (1007.43 KB, 下载次数: 2)
# 解压tar -zxvf apr-1.5.2.tar.gz
# 配置 编译 安装
cd apr-1.5.2
./configure –prefix=/usr/local/apr
make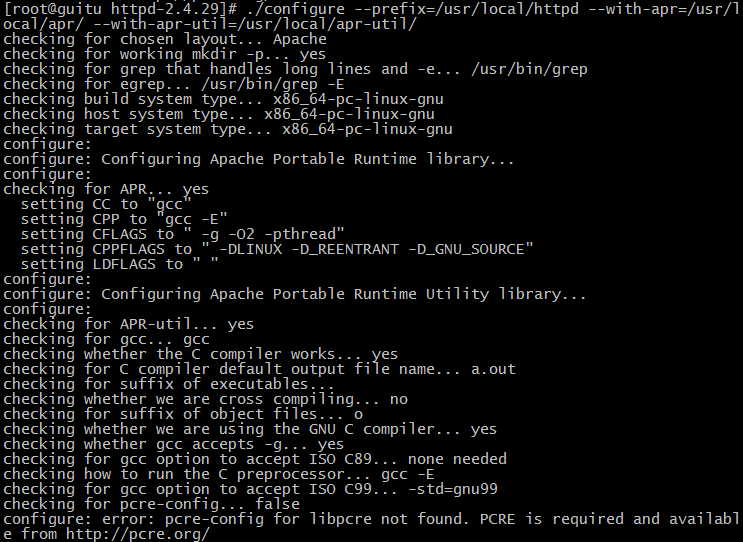
make install4、继续执行Apache配置,这次加上依赖包APR./configure –prefix=/usr/local/httpd –with-apr=/usr/local/apr/
这次还是提示错误:configure: error: APR-util not found.还是缺少依赖,继续安装缺少的依赖包

5、下载APR-util源码编译安装
apr-util-1.5.4.tar.gz (853.56 KB, 下载次数: 0)
# 解压tar -zxvf apr-util-1.5.4.tar.gz
# 配置 编译 安装cd apr-util-1.5.4
# APR-util安装需要依赖APR,加上依赖即可
./configure –prefix=/usr/local/apr-util –with-apr=/usr/local/apr/
make
make install6、继续回去Apache配置,这次需要带上两个依赖包./configure –prefix=/usr/local/httpd –with-apr=/usr/local/apr/ –with-apr-util=/usr/local/apr-util/
# 这次还是出现错误 configure: error: pcre-config for libpcre not found. 但是有了之前两次的经验这次已经知道该怎么做了
7、下载 pcre 源码编译安装
pcre-8.41.tar.gz (1.97 MB, 下载次数: 0)
# 解压tar zxvf pcre-8.41.tar.gz
# 配置 编译 安装
cd pcre-8.41
./configure –prefix=/usr/local/pcre
make
make install
8、终于可以安装Apache了
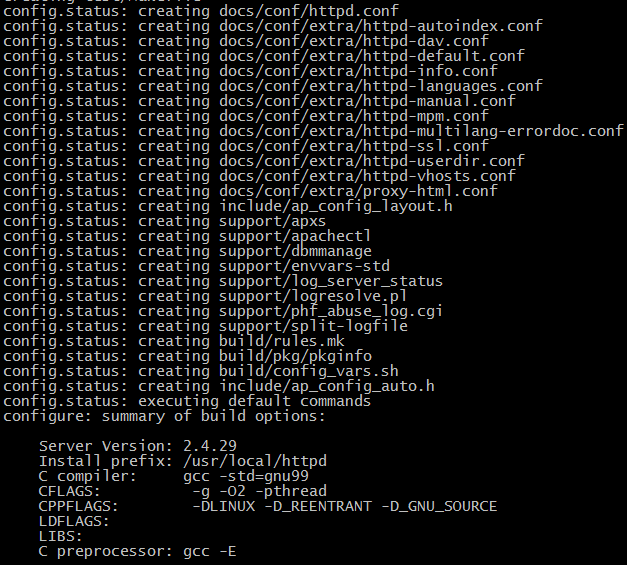
# 配置./configure –prefix=/usr/local/httpd –with-apr=/usr/local/apr/ –with-apr-util=/usr/local/apr-util/ –with-pcre=/usr/local/pcre/
看到如下界面,说明配置成功,接着可以编译和安装了,继续下一步
*# 编译*make

*# 安装*make install
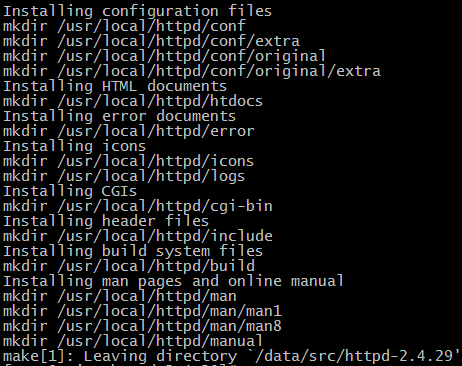
# 至此 Apache 已经安装完成了
# 汇总一下安装步骤
# 安装 apr
tar -zxvf apr-1.5.2.tar.gz
cd apr-1.5.2
./configure –prefix=/usr/local/apr
make && make install
# 安装 apr-utils
tar -zxvf apr-util-1.5.4.tar.gz
cd apr-util-1.5.4
./configure –prefix=/usr/local/apr-util –with-apr=/usr/local/apr/
make && make install
# 安装 prce
tar zxvf pcre-8.41.tar.gz
cd pcre-8.41
./configure –prefix=/usr/local/pcre
make && make install
# 安装 httpd
tar -zxvf httpd-2.4.29.tar.gz
cd httpd-2.4.29
./configure –prefix=/usr/local/httpd –with-apr=/usr/local/apr/ –with-apr-util=/usr/local/apr-util/ –with-pcre=/usr/local/pcre/
make && make install
10、启动和后期操作
#启动/usr/local/httpd/bin/apachectl start
# 为了方便启动我们把 apachectl 复制一份到 /etc/rc.d/init.d/ 并命名为 httpd cp /usr/local/httpd/bin/apachectl /etc/rc.d/init.d/httpd
# 现在我们就可以使用 service 命令来操作 httpd 了
# 启动service httpd start
# 停止service httpd stop
# 重启service httpd restart
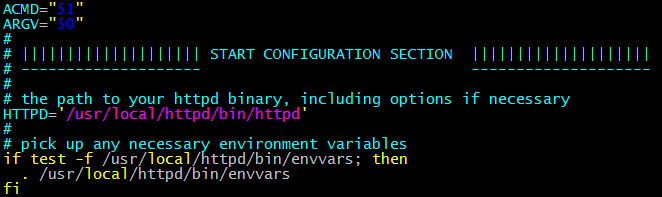
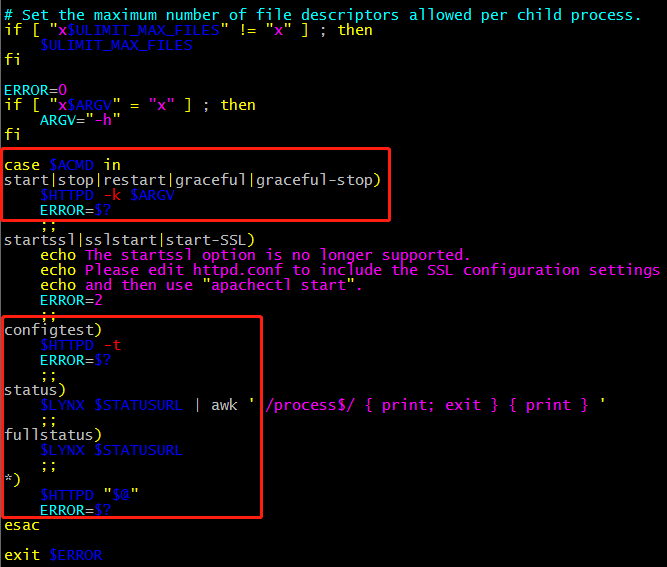
# 我们使用 apachectl 启动服务,打开 apachectl 发现,其实最终还是把指令传递给 httpd 了
# 如果启动时提示 不能确定全限定域名

# 编辑 httpd.conf 文件,打开 ServerName 前面的注释、vim /usr/local/httpd/conf/httpd.conf
# 后面填写你的IP地址或者域名,再次启动就不会报提示了

00、在这里最后记录一下,在编译安装软件的过程中,我们可以使用 echo $? 命令检查之前的操作是否成功完成,如果现实 0 说明上一步操作成功,否则你就要检查出现了什么问题;

初步上手Linux的时候,操作过程中经常执行 echo $? 检查上一个命令执行后退出的状态是很有必要的。
